


Supplies for needed for the DIY Rosette Headband:
-1 inch plastic headband (here)
-19 inch long, 2.5 inch wide striped fabric (similar here) to cover the headband
-19 inch 3/8 ribbon (similar here) to line the inside of the headband
-2 pieces of 32 inch long 3.5 inch wide fabric (similar here & here) used to make the rosettes
-2 pieces of felt for the back of the rosettes (similar here)
-2 jewels (similar here)
-fabric approximately 3x5 inches to finish the backs of the rosettes
-hot glue
-needle thread (optional- if you prefer to sew on the jewel)

This is a great project to do with your scrap fabric. You can use Christmas colors, your favorite team colors, neutrals (my personal favorite), or even make it to match a special outfit.
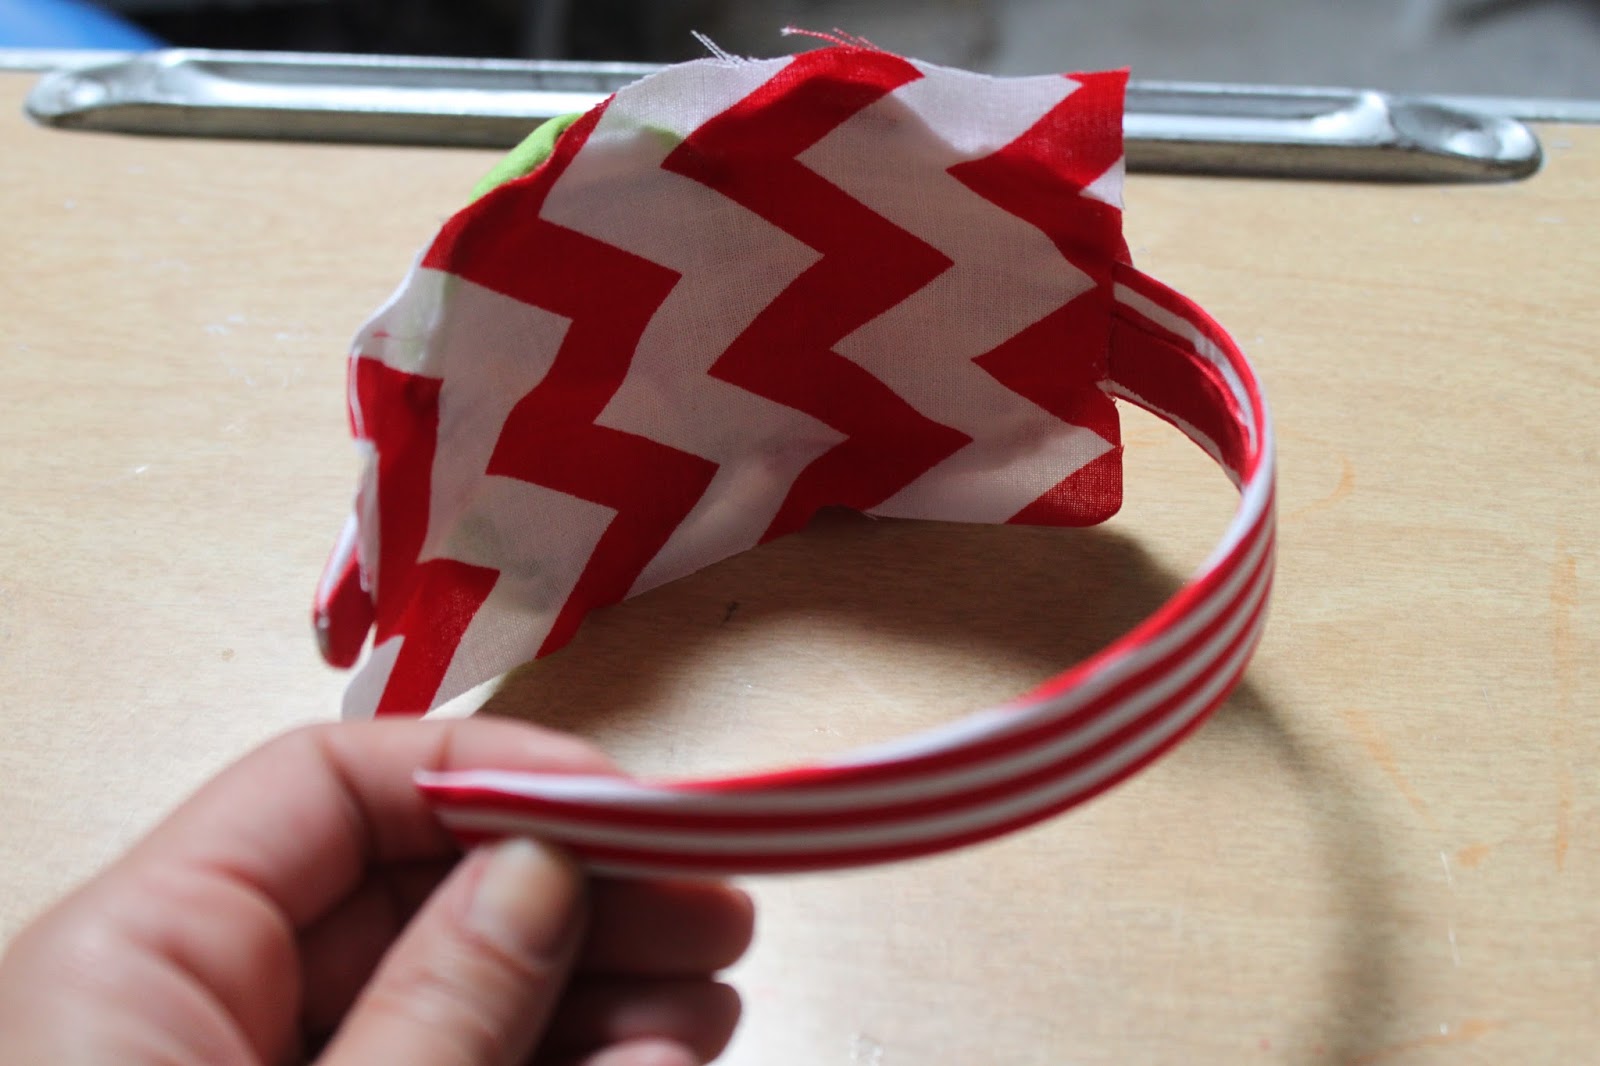
1. Use the striped fabric to cover the headband. Work in small sections and apply hot glue to the back of the headband. Pull the fabric tight and press into the glue. Continue working until the entire headband is covered. It's ok if the back gets a little messy looking, we'll cover that up later!


2. Set the headband aside. Now it's time to make the rosettes. Take the chevron fabric and make a knot at the end. Add a circle of hot glue to a small piece of felt. Press the knot onto the hot glue. Then twist and glue, while making a circle with the fabric. This circle will be your rosette.


3. When you reach the end of the fabric, tuck under it into the rosette and secure with glue. Repeat with the green fabric to make another rosette.

4. Use the skinny red ribbon to line the inside of the headband. Then glue the rosettes into place. The bottom of the green rosette should be about one inch from the end of the headband. This way the rosette flowers sit on the side of the head, not the top.

5. Add a backing to the rosette with the chevron fabric. This will make it look "finished and neat".
6. Trim away the excess fabric on the backing.

7. Then glue the jewels the center of each rosette and you are done! (Note: if this headband is for a young child, pick jewels that can be sewn on. That way you don't have to worry about them coming off. Small jewels could be a choking hazard for littles.)


Isn't this just the cutest Rosette Headband ever?! Thank you so much for crafting with me today!

Keep in Touch with Crafty Texas Girls
Facebook | Instagram | Pinterest | Twitter | Blog
If you liked this project, check out some of my other Crafty Texas Girls favorites :)


